A pop-under opens your page in a new window or tab behind the one the visitor is using. They did not click on your ad. They find your page later, often while closing tabs, and they decide in a second or two whether to stay. That is why pop-under traffic usually shows a higher bounce rate than search or social traffic, and why small fixes to the page and to the traffic you buy can make a large difference.
This guide explains what “bounce” really means for pop traffic, how to measure it properly, and the specific changes media buyers make to keep more visitors on the page and turn them into conversions.

What bounce rate means for pop-under traffic
A bounce is a visit that ends without a second interaction: no click, no scroll event you track, no form start. For pop-unders there are really three different kinds of bounce, and each has a different fix:
- Never loaded. The visitor closed the window before your page finished loading. Your analytics may not even record the visit. The fix is speed.
- Loaded but wrong audience. The page loaded, but the visitor had no interest in the offer. The fix is targeting and source selection.
- Loaded, right audience, weak page. The person could have been interested, but the page did not make the next step obvious. The fix is the landing page or pre-lander.
Before changing anything, find out which of the three you have. Compare the visits your ad platform reports with the sessions your analytics or tracker records. A big gap between the two points to load problems, not to a bad offer.
Step 1: Measure it the right way
Bounce rate on its own is a weak metric. A page can have a high bounce rate and still be profitable if the people who stay convert well. Track these together:
- Clicks or impressions bought (from the ad platform)
- Landing page views (from your tracker)
- Clicks from the pre-lander or landing page to the offer (CTR to offer)
- Conversions, reported back by postback or pixel
The most useful single number for pop traffic is usually the share of landing page visitors who click through to the offer. If that number rises while bounce rate falls, your change worked. If bounce rate falls but conversions do not move, you probably only made people scroll more.
Set up server-to-server postback tracking if your offer or tracker supports it. A postback sends the conversion straight from the advertiser’s or tracker’s server to the ad platform with the click ID attached, so it is not affected by ad blockers or cookie restrictions in the way a browser pixel can be. With conversions tied to click IDs, you can see which sources bring visitors who stay and buy, not just which ones are cheap.
Step 2: Make the page load fast
Pop-under visitors have the least patience of any traffic type. Everything that delays the first visible content costs you visitors:
- Compress images and serve them in modern formats such as WebP. A hero image does not need to be a multi-megabyte photo.
- Remove scripts you do not need: chat widgets, extra analytics tags, heavy sliders and video autoplay.
- Keep redirects to a minimum. Each hop between tracker, pre-lander and offer adds delay. Use one tracker redirect, not a chain.
- Host the page close to your audience, or behind a CDN, especially when you buy traffic in several regions.
- Test on a real mid-range phone over a mobile connection, not only on your office Wi-Fi.
Tools such as Google PageSpeed Insights or Lighthouse show you exactly what slows the page down. Fix the largest items first.
Step 3: Match the page to the traffic
A visitor who was reading a sports site, a download portal or a streaming page did not come looking for your product. The page has to explain itself immediately:
- Headline first. Say what the offer is and why it matters in one line, above the fold, on a phone screen.
- Language and currency. Show the page in the visitor’s language and local currency. A Spanish visitor landing on an English page is a likely bounce.
- Device fit. Build separate flows for mobile and desktop where it matters. Many pop campaigns are mostly mobile, so a desktop-only layout will lose people.
- One clear action. One button, one next step. Several competing links increase hesitation.
Step 4: Use a pre-lander when the offer needs context
A pre-lander is a short page between the ad and the offer. For cold pop traffic it often does a better job than sending people straight to a long sales page. Common formats are a short quiz, a one-question survey, a simple article-style page or a “check if your device is compatible” page for app offers.
A good pre-lander warms the visitor up and filters out people who will not convert. Keep it honest: it should describe the offer accurately. Misleading pre-landers may increase clicks for a few days, but they hurt conversion quality, attract complaints and can get a campaign rejected by ad networks and offer owners.
Test the same traffic against both versions, with and without the pre-lander, and judge on conversions per 1,000 visitors, not on bounce rate alone.
Step 5: Clean up the traffic you buy
Often the page is fine and the bounce comes from sources that send the wrong people, or low-quality traffic. This is where placement reports help.
Read the placement or zone report
Break your campaign stats down by source, domain or zone ID. For each one, look at spend, landing page views, CTR to offer and conversions. Sources usually fall into three groups:
| Source pattern | What it usually means | What to do |
|---|---|---|
| Spend, but very few landing page views | Page loads failing, or poor-quality traffic | Check speed first; if other sources load fine, blacklist |
| Good views, almost no clicks to offer | Wrong audience for this offer | Blacklist or lower the bid for that source |
| Good views, clicks and conversions | Source fits the offer | Keep, consider raising the bid, add to a whitelist |
| Too little data | Not enough spend to judge | Leave running until it reaches your test threshold |
Use blacklists and whitelists
Blacklisting removes sources that clearly do not work. Once you have a set of proven sources, a whitelist campaign that buys only from them lets you scale with much less waste. Keep testing new sources in a separate campaign so the whitelist does not go stale.

Use frequency capping
Showing the same pop-under to the same person many times a day rarely helps. Later exposures are usually closed without a look. A frequency cap, for example one impression per user per day, spreads your budget across more unique visitors and tends to lower the bounce rate on its own.
Split by country and device
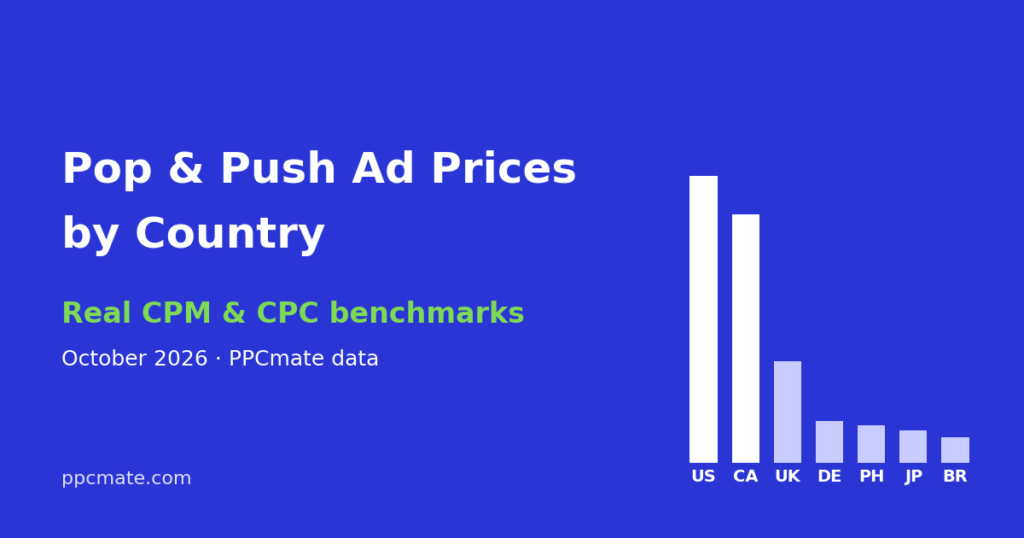
Different countries and devices behave very differently, and they cost different amounts. Run them as separate campaigns or at least review them separately, so a strong country does not hide a weak one. Our pop and push CPM benchmarks by country give a sense of how prices vary, which helps you pick test markets.
Step 6: Time your traffic
Dayparting lets you run ads only during certain hours. Check your conversion data by hour of day. If people who arrive late at night bounce almost every time, lower bids or pause the campaign during those hours. Make the decision on several days of data, not one.
Common mistakes
- Judging the page on one day of data. Pop traffic varies a lot between days and sources. Wait until each variant has enough visits to compare.
- Optimizing bounce rate instead of profit. Lower bounce rate is only useful if conversions follow.
- No conversion tracking. Without postbacks or pixels you cannot tell good sources from bad ones, so every optimization becomes a guess.
- Blacklisting too early. Cutting a source after a handful of visits removes sources that might have worked. Set a spend or visit threshold first.
- Mixing countries and devices. Blended numbers hide where the bounce comes from.
- Heavy pages. Autoplay video, large images and multiple tracking scripts make pop visitors leave before the page appears.
- Misleading pre-landers. They raise clicks briefly but lower conversion quality and can get campaigns rejected.
Quick checklist before you launch
- Page loads quickly on a mid-range phone over mobile data.
- Headline and button are visible without scrolling.
- Page is in the visitor’s language and currency.
- Postback or pixel conversion tracking is tested with a real test conversion.
- Frequency cap is set.
- Campaigns are split by country and device.
- You have decided the spend threshold at which a source gets blacklisted.
If you want to put this into practice, PPCmate’s advertiser platform supports frequency capping, dayparting and pixel or postback conversion tracking, as listed on the pricing page, and you can start with a $25 minimum deposit.
FAQ
Is a high bounce rate normal for pop-under ads?
Yes, pop traffic usually bounces more than search or social traffic because visitors did not choose to click. What matters is whether the visitors who stay convert at a cost that works for you.
Should I always use a pre-lander?
No. Simple offers with a clear benefit can work well with a direct link. Test both versions on the same traffic and keep the one with more conversions per visitor.
How many impressions should a source get before I blacklist it?
There is no universal number. A common approach is to give each source a spend limit related to your target cost per conversion, for example the price of one or two conversions, and blacklist it if it reaches that without results.
Does frequency capping reduce my traffic volume?
It reduces repeat impressions to the same people, so total volume may drop. In exchange, more of your budget reaches new visitors, who are more likely to look at the page.