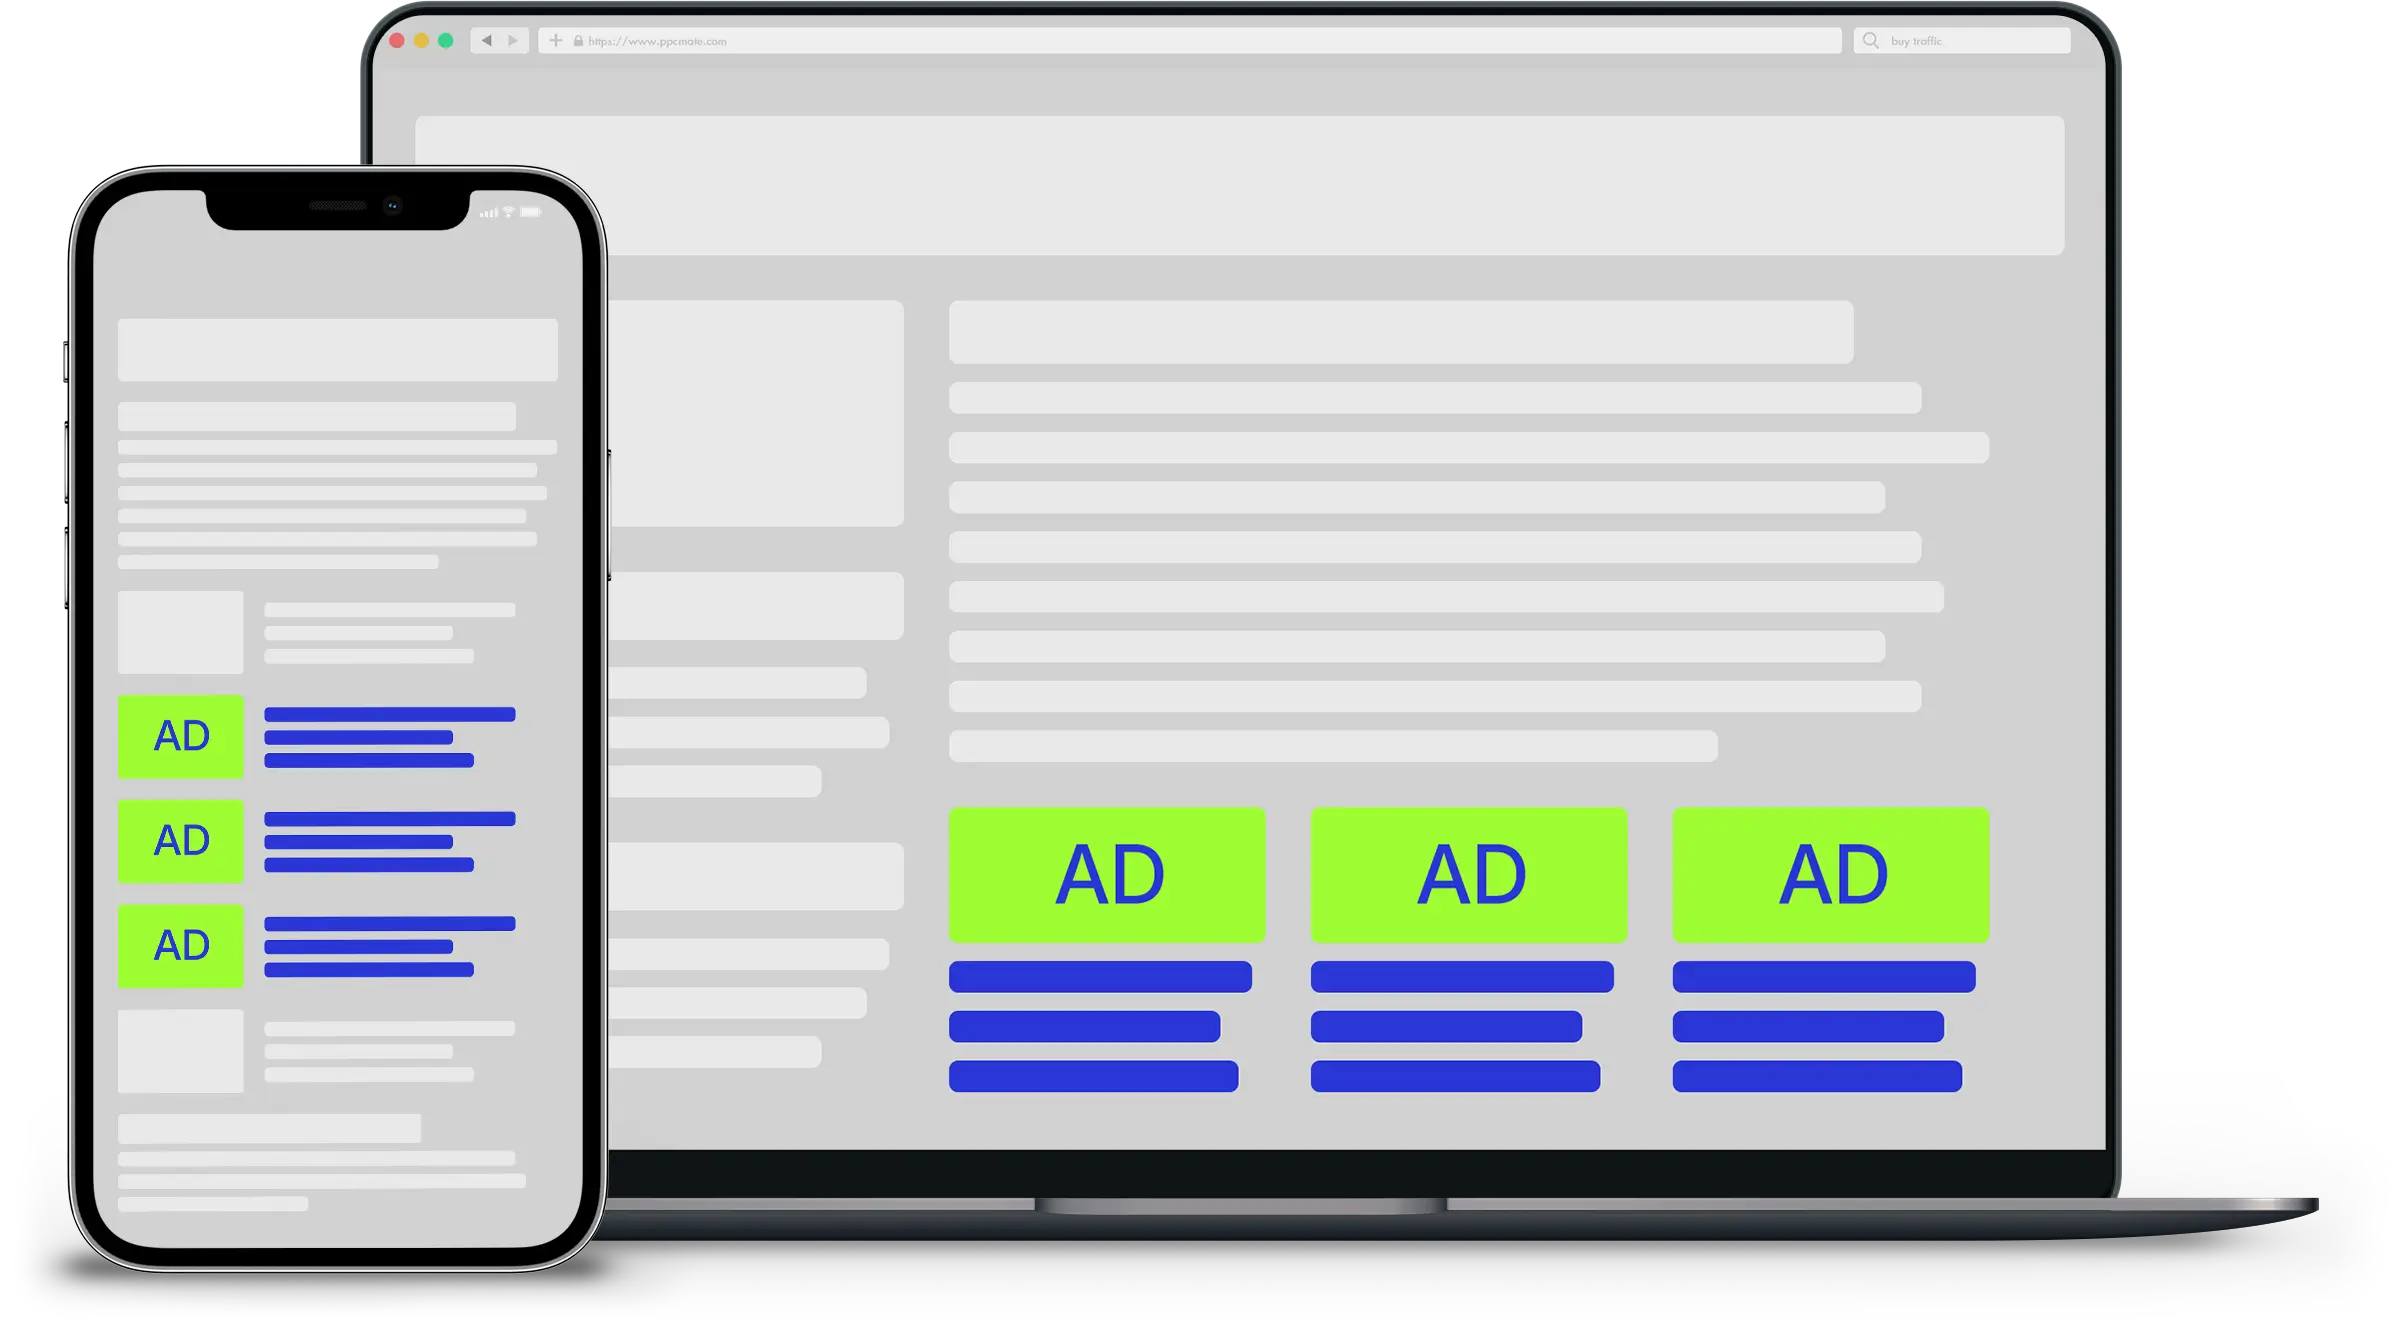
Tracking traffic quality is one of the most important parts of programmatic advertising. To optimize campaigns properly, advertisers must understand where their traffic comes from, how users behave after the click, and which placements deliver real value. Generic UTM parameters cannot provide this level of visibility. They mix all traffic together and hide placement level behavior inside Google Analytics.
At PPCmate, I designed a simple and highly effective method that uses real supply identifiers inside your UTM structure. By replacing the default utm_medium with SITE_ID (or REFERRER_DOMAIN) you can track detailed placement performance directly in Google Analytics Explore. This allows you to measure time on site, bounce rate, engagement patterns, and click to session discrepancy with precision.
SITE_ID gives you the most accurate snapshot of traffic quality. It includes the domain, the exact placement, the zone, the inventory type, and the final delivery path inside the supply chain. One domain can have many SITE_IDs because each zone behaves differently. Some zones generate real engagement while others may produce fast exits or low value clicks. By using SITE_ID as utm_medium you can identify these patterns instantly.
The method is simple. You update your landing page URL with the recommended UTM structure, run your campaigns, allow Google Analytics to refresh for up to 24 hours or more, and then open GA Explore to view all placements grouped with their engagement metrics. Once you identify the best SITE_IDs, you duplicate your PPCmate campaign, whitelist these placements, increase your bids, and scale high-quality traffic. At the same time, you keep the original campaign running at low bids to discover new profitable placements.
SITE_ID provides:
- Domain or App
- Placement
- Zone
All in a single value.
This guide explains the entire process step by step. You will learn how to implement SITE_ID tracking in PPCmate, how to analyze placements in Google Analytics, how long to collect data for reliable results, and how to run a dual campaign strategy that improves performance every day. This system gives you full transparency and allows you to optimize your programmatic campaigns with confidence.
After testing more than 50 landing pages, we can confidently say that the results are unique to each page. What works on one website/landing page, will not work on another campaign. Make sure you optimize each landing page separately.
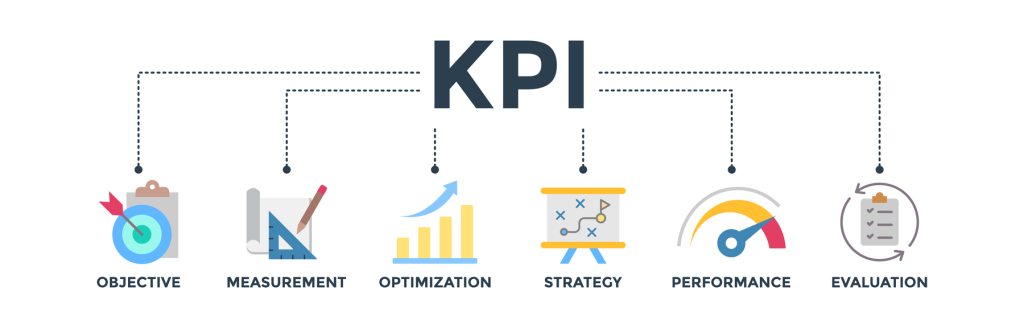
Below are three step-by-step guides to help you optimize KPIs and achieve your ad goals:
- Step by Step (1/3): How to Add Custom UTMs in PPCmate
- Step by Step (2/3): How to Analyze Data in Google Analytics
- Step by Step (3/3): How to Target SIDE_IDs in PPCmate
With a small adjustment in your UTM structure, you can transform your reporting and optimize your campaigns with confidence.

Top 5 Reasons Why This
Optimization Method Is Useful
1. Real placement level transparency
By using SITE_ID as utm_medium you see exactly which placement or zone delivered each session. This removes all guesswork and shows the true quality of every traffic source. You can instantly identify strong placements and isolate weak ones.
2. Accurate engagement insights
Google Analytics displays clear time on site, bounce rate, and activity metrics for each SITE_ID. This helps you understand how users behave after the click. You can compare placements and quickly find the ones that generate real interest.
3. Better discrepancy detection
Clicks and sessions often differ. With placement level tracking you can see where discrepancies appear and why. This allows you to detect low quality placements, early closes, blocked scripts, or fast user drop offs.
4. Faster and smarter optimization
When you know which placements perform well you can adjust your bidding strategy, remove underperforming sources, and focus your budget on high engagement traffic. This leads to better results and higher ROI without increasing spend.
5. Works automatically across all PPCmate channels
Once set, the UTM structure works for Popunder, Push, Display, Native, and Video. You only set it once and it instantly improves your reporting for every campaign. There is no additional maintenance and no technical complexity.
Step by Step (1/3)
How to Add Custom UTMs
in PPCmate
Step 1: Go to your Campaign
Open your PPCmate account and select the campaign where you want to apply custom tracking.
Step 2: Go to the Creative Section
Select your creative or add a new one.
Step 3: Locate the Landing URL Field
Every creative has a field where you paste your destination landing link.
Step 4: Insert the Recommended URL
Paste this link into the Destination URL field:

https://example.com?utm_source=ppcmate-x&utm_medium={SITE_ID}&utm_campaign={CAMPAIGN}&utm_id={BANNER}Alternative for domain-level tracking only:
https://example.com?utm_source=ppcmate-x&utm_medium={REFERRER_DOMAIN}&utm_campaign={CAMPAIGN}&utm_id={BANNER}Step 5: Save the Creative
Your campaign now sends complete UTM data to Google Analytics.
Step by Step (2/3)
How to Analyze the Data
in Google Analytics
Step 1: Log in to Google Analytics
Use the account that receives your PPCmate traffic.
Step 2: Go to Explore
Explore allows you to create custom reports with grouped UTMs.
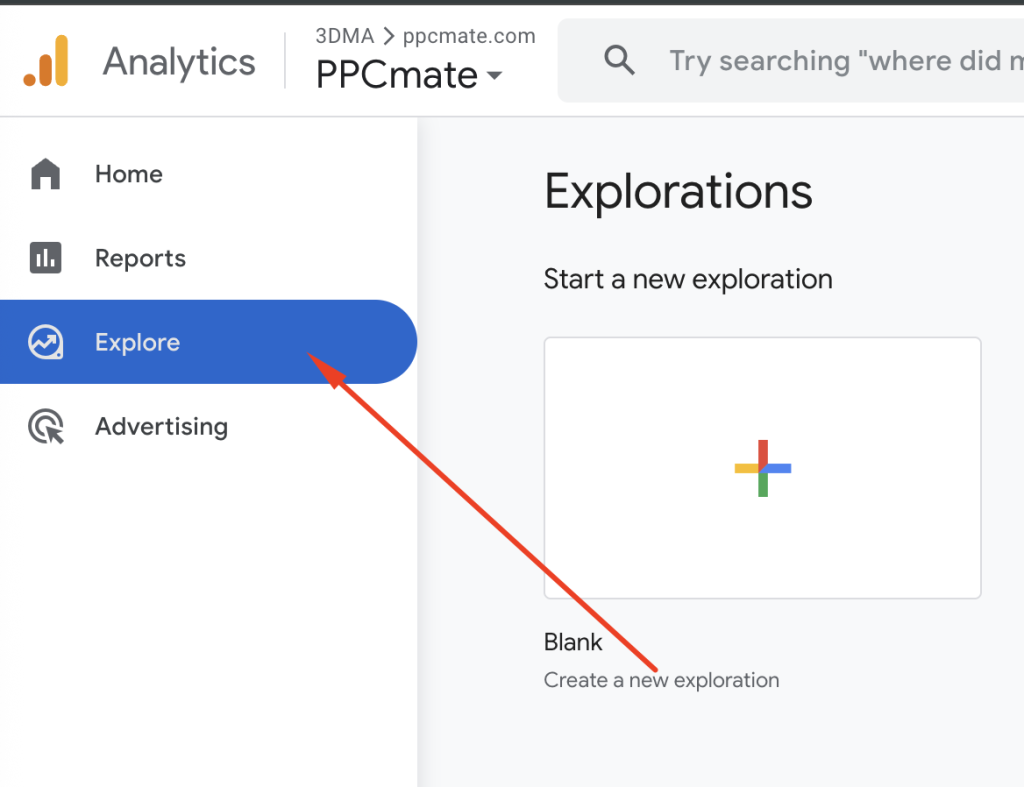
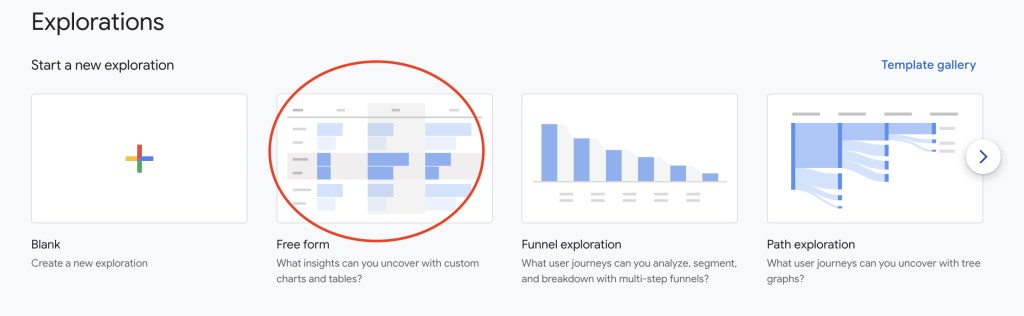
Step 3: Create a New Exploration
Choose a Free Form exploration.
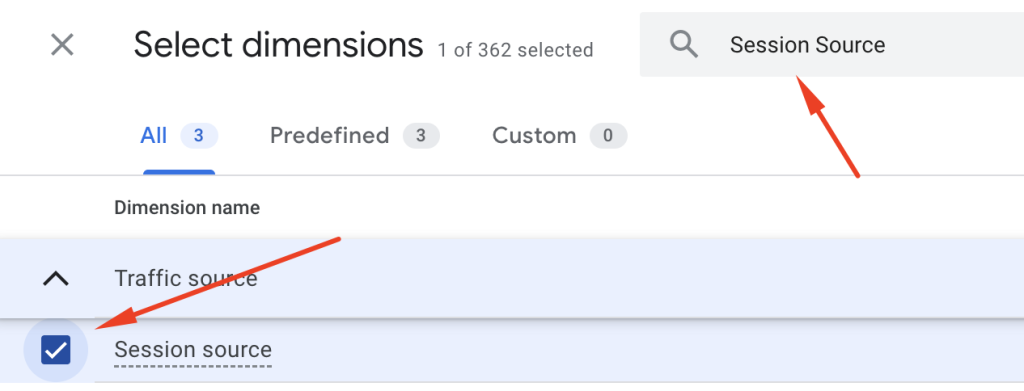
Step 4: Add Dimensions
Add the following:
- Session source
- Session medium
- Session campaign
These correspond to your UTM tags.
Step 5: Add Metrics
Add the metrics that matter most for quality:
- Sessions
- Views
- Events per session
- Average session duration
- Engagement ratge
- Bounce rate
- Total Users
- Views per session
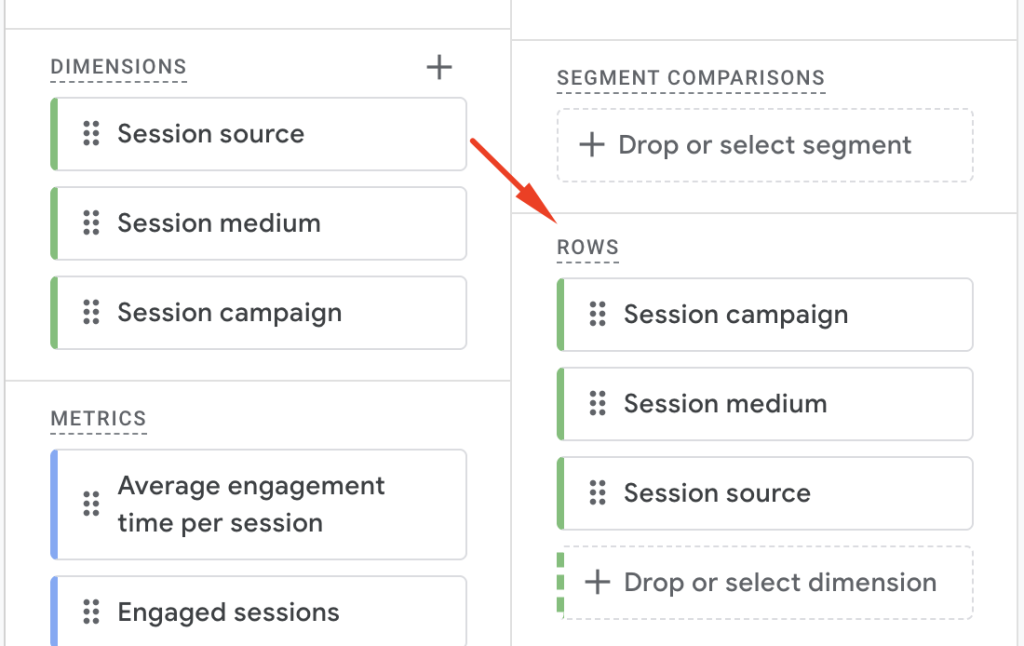
Step 6: Drag Session Medium into Rows
This will show your SITE_ID or REFERRER_DOMAIN values.
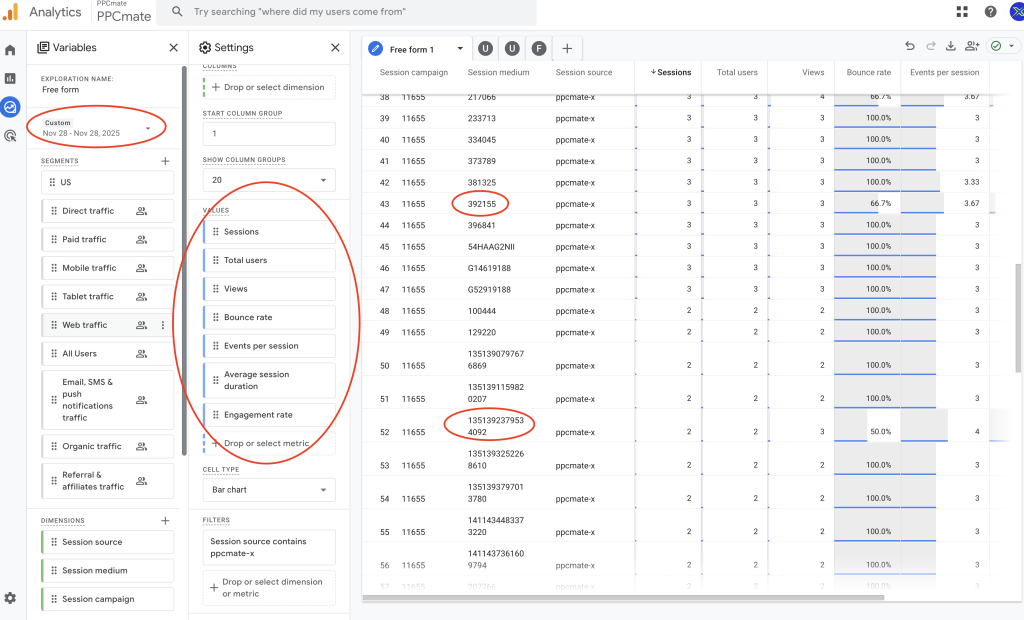
Step 7: Compare Performance
You can now clearly see:
- Which placements send real users
- Which placements bounce fast
- Which placements generate discrepancies
- True engagement time per placement
- Activity on every source
This turns Google Analytics into a full traffic quality dashboard. It is recommended to track the history of your traffic for at least the last seven days. For optimal results, it’s recommended to use it for 10-14 days. This gives the most accurate picture of placement performance because it captures:
- Weekend traffic
- Weekday traffic
- Multiple behavior cycles
- True quality patterns
- Consistent bounce and engagement trends
This is the best range for making confident decisions.
Step by Step (3/3)
How to Target Campaigns with SIDE_IDs in PPCmate
Once you identify your highest performing SITE_IDs inside Google Analytics Explore, the last step is to add them directly into your PPCmate campaign targeting. This ensures that you only buy traffic from the placements that deliver strong engagement, low bounce rate, and real sessions.
Follow these steps to apply your SITE_ID whitelist:
Step 1: Duplicate your PPCmate campaign
Create a new campaign that will focus only on high quality SITE_IDs. Keep your original campaign running at low bids for discovery.
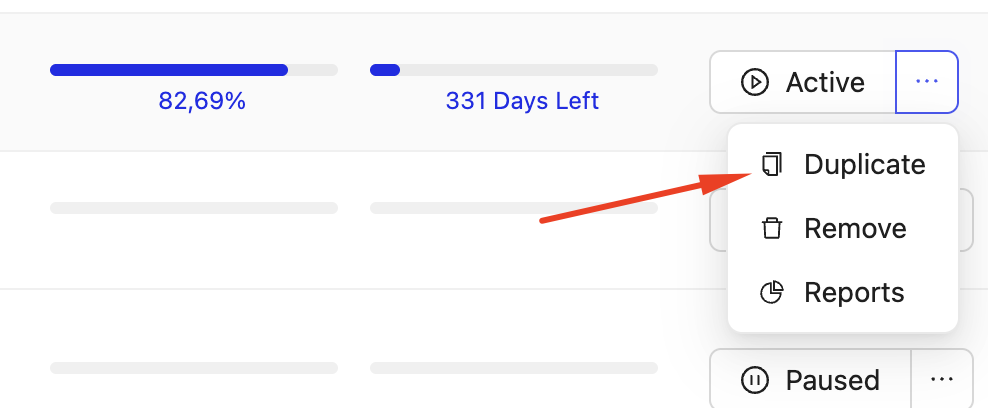
Step 2: Open the new campaign settings
Go to your PPCmate dashboard and open the duplicated campaign.
Step 3: Navigate to Inventory
Inside the campaign settings, you will find the Inventory section and go to SITE IDs.
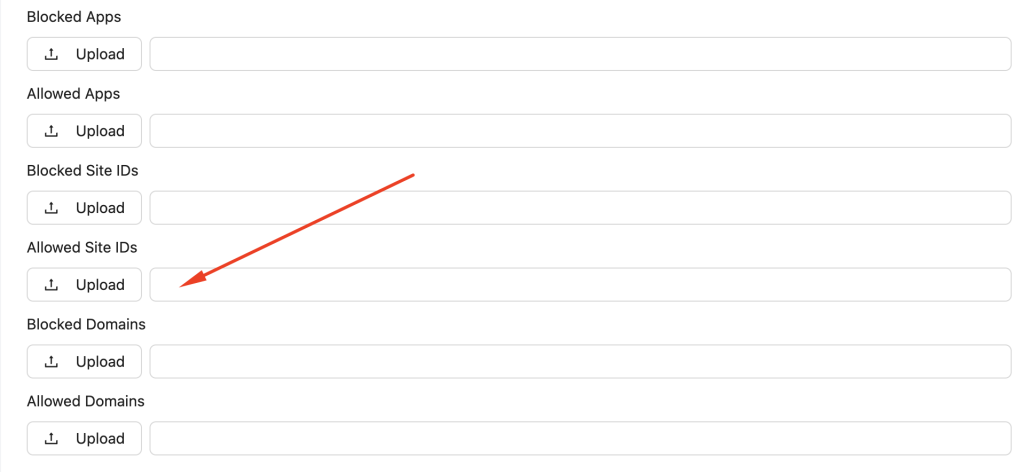
Step 4: Input the SITE_IDs identified in Google Analytics
You can do this in two ways:
- Copy and paste the SITE_IDs directly into the field
- Upload a CSV file if you have a large list
Both options work the same and instantly apply placement-level targeting.
Add IDs with a comma-separated list, without any spaces.

Step 5: Save your settings and set a higher bid
Because these SITE_IDs are proven to perform well, you can safely increase your bid to capture more high-quality volume.
Step 6: Run both campaigns together
Your optimized campaign focuses on the best placements.
Your original discovery campaign continues to find new SITE_IDs at low bids.
This creates a healthy and scalable optimization cycle.

Why This Method Works
By replacing utm_medium with SITE_ID (or REFERRER_DOMAIN), you unlock exact user behavior insights that generic UTMs cannot provide. You gain placement-level transparency, accurate discrepancy detection, and clearer engagement.
This simple upgrade makes every advertising decision stronger.
Final Thoughts
At PPCmate I focus on giving advertisers clean visibility and real performance data. This custom UTM method is an easy and effective way to understand the true quality of your traffic. Once set up, it works automatically on every session and becomes a powerful optimization tool.
We hope you found this helpful article. For any questions or support, our team is always ready to support you.
FAQ
Why should I replace the default utm_medium value?
Default values like cpc or display do not give any visibility into the true source of each visit. By using SITE_ID or REFERRER_DOMAIN as utm_medium you unlock placement level reporting inside Google Analytics. This helps you understand real engagement, bounce rate, time on site, and traffic quality.
What is the recommended UTM structure for PPCmate campaigns?
The recommended tracking link is:
https://example.com?utm_source=ppcmate-x&utm_medium={SITE_ID}&utm_campaign={CAMPAIGN}&utm_id={BANNER}
SITE_ID gives the most accurate view of placement level performance.
Can I use REFERRER_DOMAIN instead of SITE_ID?
Yes. REFERRER_DOMAIN is a valid alternative if you want domain level insights. It is useful when you want to compare traffic behavior across multiple domains instead of placements.
Will this tracking method work for all PPCmate media types?
Yes. The UTM structure works for all PPCmate channels including Popunder, Push Notifications, Native, Display, and Video.
Does this affect my campaign performance?
No. UTMs are added after the click. They do not change your bid, your traffic, or the way your ads are delivered. They only improve your analytics reporting.
How long does it take for Google Analytics to show the new data?
Google Analytics does not update instantly. It can take up to 24 hours or more for data to fully update in standard reports. Explore reports may also take several hours before all sessions appear.
Why do I see a discrepancy between PPCmate clicks and Google Analytics sessions?
Clicks and sessions are measured differently. Google Analytics counts sessions only when the landing page loads successfully. Factors like app browsers, blocked scripts, user drop offs, or fast closes can create differences. Using SITE_ID helps identify which placements cause discrepancies.
Can I track conversions with this setup?
Yes. You can assign goals, events, or conversions inside Google Analytics. The UTMs will appear in your conversion reports, giving you insights into which placements generated the conversions.
Can I use both SITE_ID and REFERRER_DOMAIN together?
They cannot both be used as utm_medium at the same time. You choose one for primary reporting. You can, however, run separate tests by switching between them or add the second one as a custom URL parameter.
Do I need to change my Google Analytics settings?
No. Google Analytics automatically reads all UTM parameters. You only need to open Explore, add Session Source, Session Medium, and Session Campaign dimensions, and begin analyzing.
Will PPCmate support help me apply these UTMs?
Yes. The PPCmate team can assist with UTM structure, tracking implementation, and quality analysis. Support is available through email, ticket, or your PPCmate dashboard.
Special Thanks: Joel Hajaree and Kyle Lee from Site Impact (LinkedIn)
Author: Michael Manelidis, PPCmate CEO (LinkedIn)